How to Resize an Image Without Losing Quality or Distorting It
By Leomeo · Published 2026-08-23 · Updated 2026-08-23
Resize JPG, PNG, or WebP images with the correct aspect ratio, sensible pixel dimensions, format-aware settings, and a preview-first quality check.
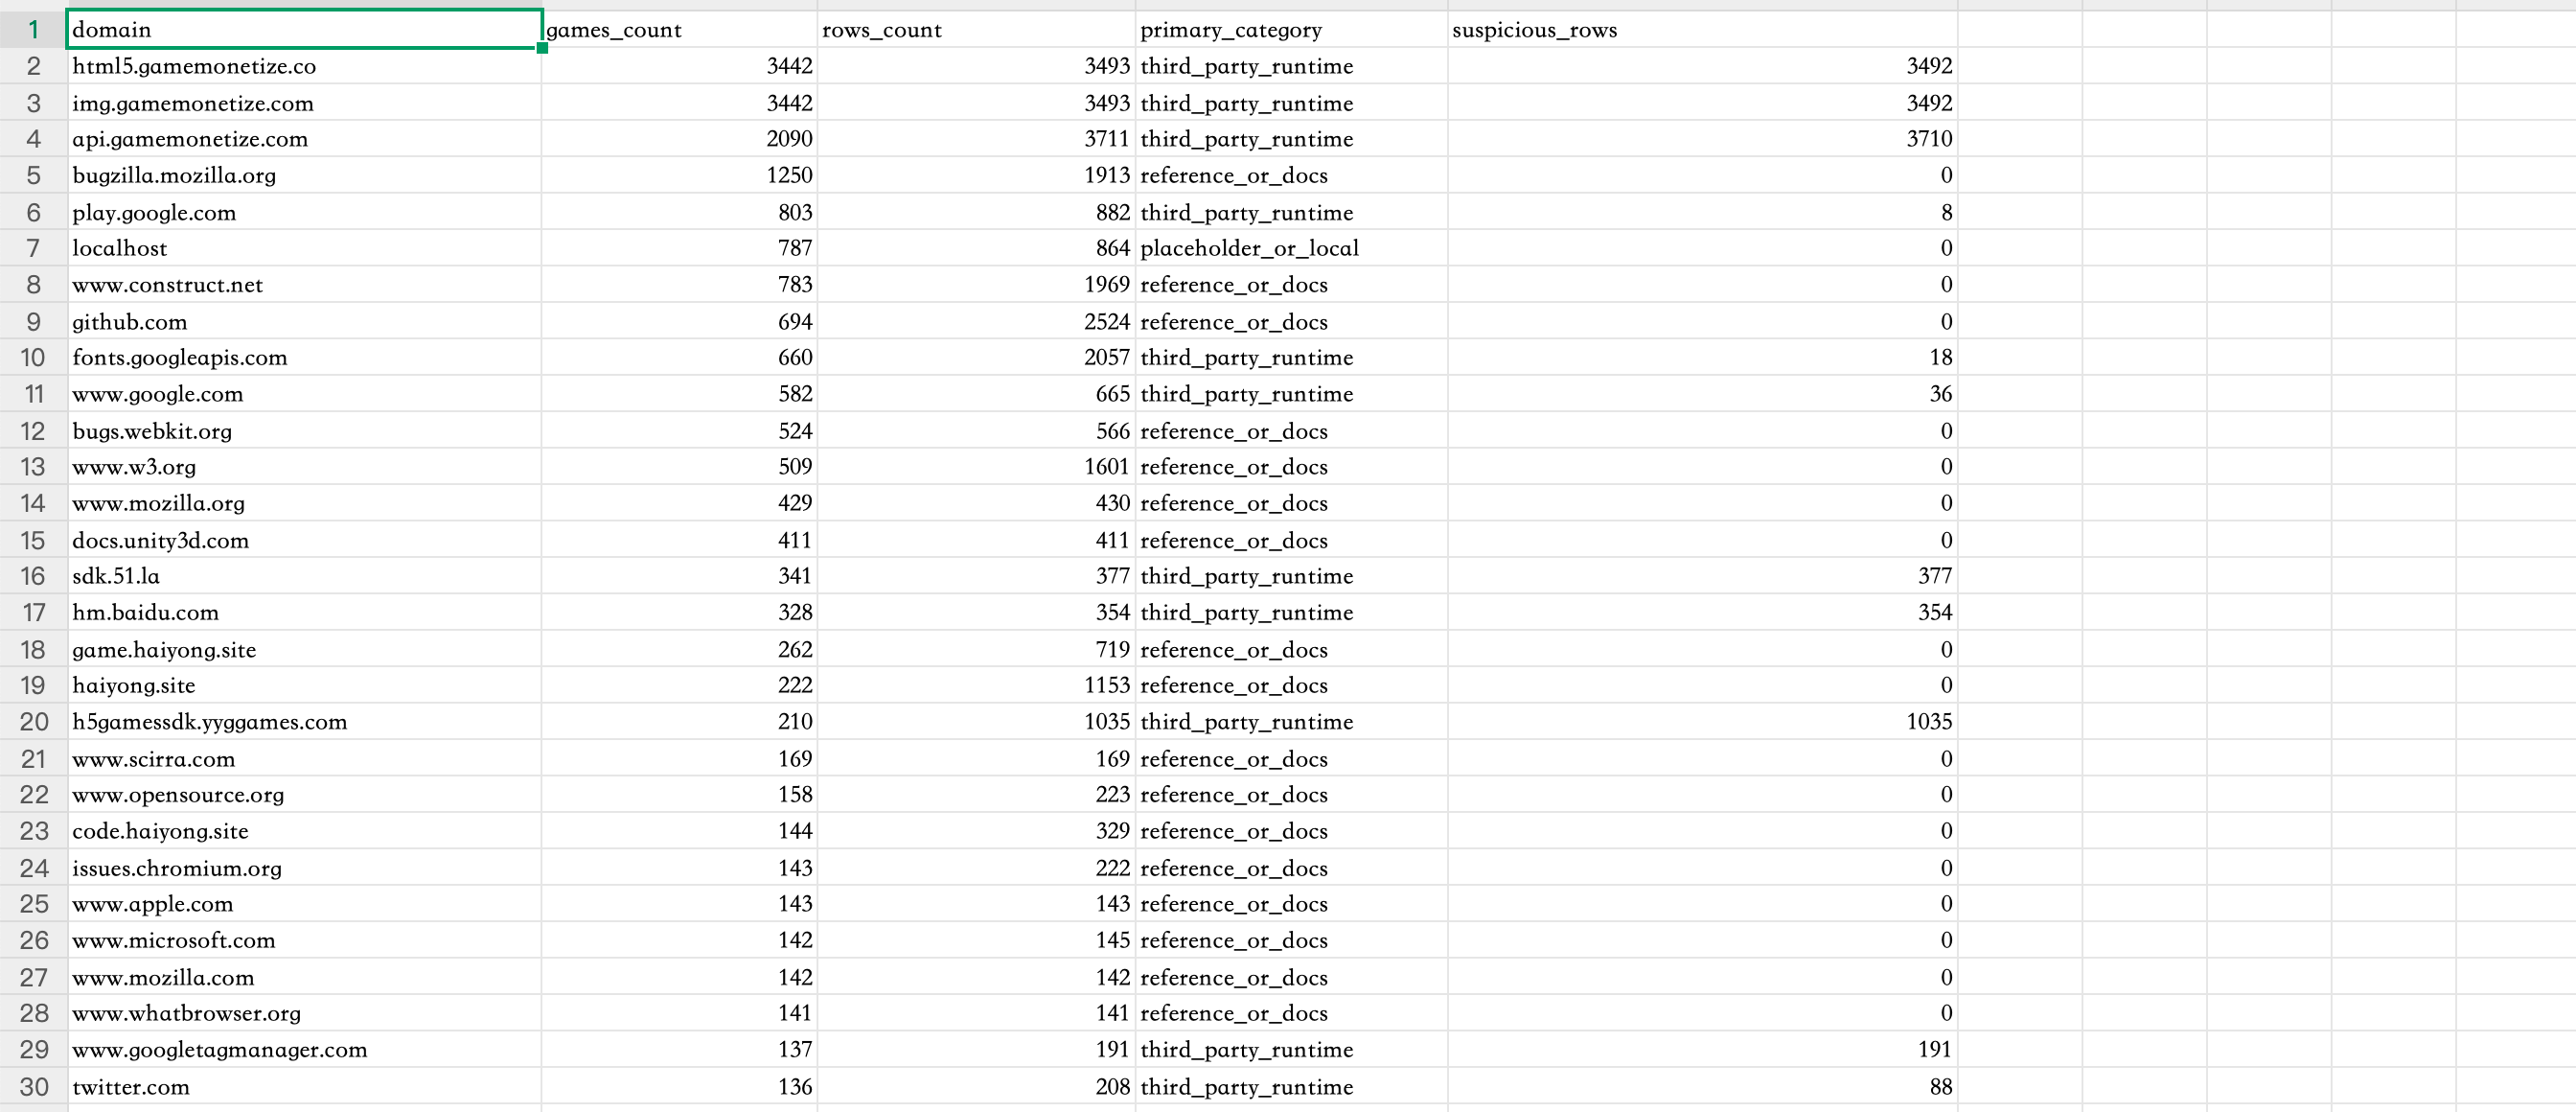
Real-image case: resize a dense 2688 × 1160 table screenshot
A spreadsheet screenshot is less forgiving than a photograph because small text, periods, underscores, and one-pixel grid lines reveal blur quickly. The downloadable PNG provides a measurable source for calculating proportional dimensions and reviewing legibility before download.
- Source dimensions: 2688 × 1160 pixels.
- Original file size: 280,365 bytes (about 274 KiB).
- Reduced aspect ratio: 336:145, or approximately 2.317:1.
- Quality-sensitive details: small domain text, underscores, integer columns, and thin grid lines.
1. Define the required pixel dimensions, not a vague percentage
Start with the destination. A website slot, marketplace, form, presentation, email template, or print workflow should specify a maximum width and height or a target pixel size. Use that requirement instead of repeatedly shrinking the image until the file seems small. Screen dimensions are measured in pixels; print size also depends on pixel density and viewing distance. Changing a PPI label alone does not create more captured detail when the pixel dimensions stay unchanged.
The real case is 2688 × 1160 pixels and has a wide 336:145 aspect ratio. It contains small text and thin rules, so it makes softness and aliasing easy to spot. Open it at its natural size and identify the smallest information that must remain readable. Keep this original file unchanged. Every resize that changes pixel dimensions is a resampling operation, and a later enlargement cannot reliably restore details discarded by an earlier reduction.
2. Lock the aspect ratio and calculate the matching dimension
Aspect ratio is width divided by height. To preserve it, change both dimensions by the same scale factor or enter one dimension and let the tool calculate the other. For the 2688 × 1160 case, an exact 50% target is 1344 × 580 pixels because both source dimensions are divided by two. That is a geometry calculation, not a claimed file-size or quality result. Entering 1344 × 600 would change the proportions and make characters and grid cells look slightly taller.
Keep aspect-ratio locking enabled for ordinary photos, logos, screenshots, diagrams, and product images. If a destination requires dimensions with another ratio, do not unlock width and height merely to make the numbers fit. Crop to the target ratio first, or add a deliberate background around the image when no content may be removed. Stretching is rarely subtle: circles become ovals, faces become narrow or wide, and the rectangular cells in this case stop matching the source geometry.
3. Choose the output format and resize only once
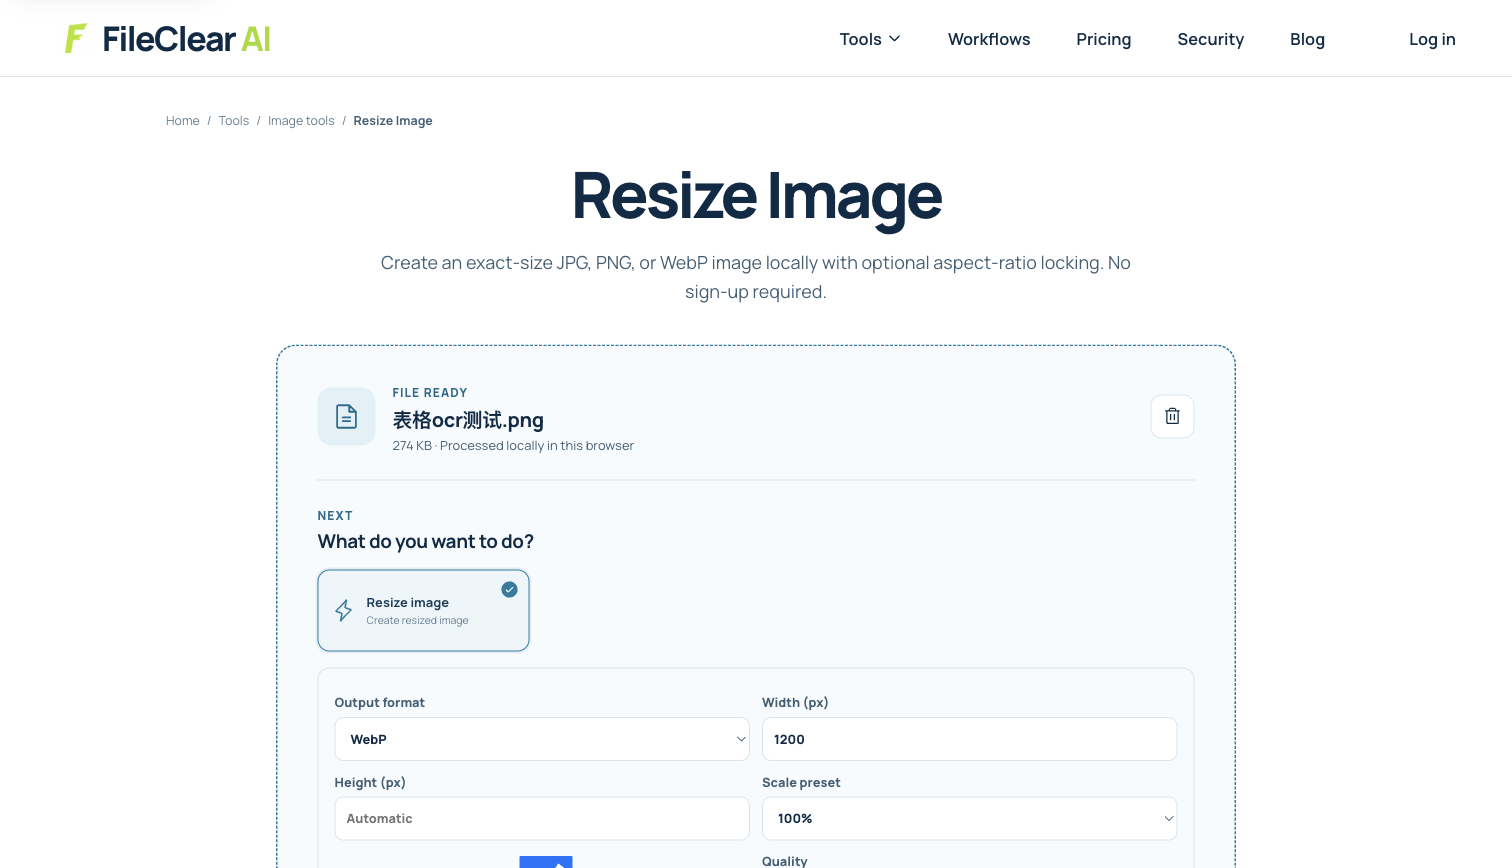
Open Resize Image, upload the source, choose an output format, and keep the aspect ratio enabled. Enter the required width or use a deliberate scale preset; leave height automatic when the tool can calculate it. PNG is suitable for line art, screenshots, and transparency when lossless storage is important. JPG is normally better for opaque photographs when a smaller lossy file is acceptable. WebP can support efficient photographic or transparent output, but confirm that the destination accepts it.
The real settings screenshot shows the case PNG loaded with a width field, an automatic height, a scale preset, output format, and quality controls. It does not assert that the displayed defaults are right for every destination or that a particular output size was achieved. Choose settings from the actual requirement, process a copy once, and avoid chains such as resize, download, reopen, resize again. Repeated resampling and lossy re-encoding can compound visible damage.
4. Preview text, edges, color, and transparency before download
Use the result preview as an approval step instead of downloading immediately. Inspect the output at its intended display size, then zoom in to the smallest text, diagonal edges, high-contrast rules, gradients, faces, and product outlines. For the table case, compare periods in domains, underscores in headers, repeated digits, and the thinnest grid lines with the source. Confirm the displayed width and height match the requirement and that the image has not rotated because of orientation metadata.
Check format-specific risks. JPG cannot preserve transparency, so transparent areas need an intentional background rather than an accidental black or white fill. A low quality setting can create ringing around letters and blocks in flat colors. PNG preserves image samples losslessly but can still look softer after downsampling because fewer pixels describe the same details. Keep the smaller result only when it is clear at the real viewing size, and return to the settings when the preview fails rather than accepting it because the byte count is lower.
5. Treat enlargement as an estimate, not recovered detail
Upscaling adds pixels by estimating values between the source pixels. A better resampling method can reduce jagged edges or preserve the appearance of existing detail, but it cannot reveal a digit, face, texture, or focus information that the camera or screenshot never captured. Avoid enlarging a small source just to satisfy a nominal dimension when the destination will still expose blur. Find a higher-resolution original, recapture the image, or redesign the layout so the available source is displayed smaller.
After approval, download the resized copy and reopen it in another viewer. Verify its pixel dimensions, orientation, color, transparency, and legibility, then compare it with the original one final time. Use a descriptive filename that includes the intended use or dimensions, while keeping the untouched source separately. A high-quality resize is not one that promises zero mathematical change; it is one that preserves the aspect ratio, uses no more resampling than necessary, matches a known destination, and survives visual inspection before download.
Finally, upload one approved result to the actual destination and inspect the delivered version. A platform may create its own thumbnail or recompress the image, so local quality alone does not prove what users will receive.
Continue this file task
Related guides
Frequently asked questions
- Can I resize an image without losing any quality?
- Changing pixel dimensions requires resampling, so some information or estimation is involved. Downscale once from the original, keep the aspect ratio, choose an appropriate format, and judge the preview at the intended display size.
- How do I resize an image without stretching it?
- Keep the aspect ratio locked and enter only one dimension, or change width and height by the same scale factor. If the required shape differs, crop or add padding instead of unlinking the dimensions.
- Does increasing image dimensions improve resolution?
- It increases the pixel count but does not recover missing source detail. Upscaling can smooth edges or estimate intermediate pixels, yet a blurred or low-resolution source remains limited by what it originally captured.
- Should I resize to PNG, JPG, or WebP?
- Use PNG for lossless graphics or transparency, JPG for opaque photographs when lossy compression is acceptable, and WebP when the destination supports it and you need efficient photographic or transparent output.
Sources and further reading
- Resizing parameters in Photoshop — Adobe Photoshop Help
- Resampling options in Photoshop — Adobe Photoshop Help
- Portable Network Graphics (PNG) Specification, Third Edition — World Wide Web Consortium