How to Crop an Image to an Exact Size Without Stretching It
By Sherry · Published 2026-08-23 · Updated 2026-08-23
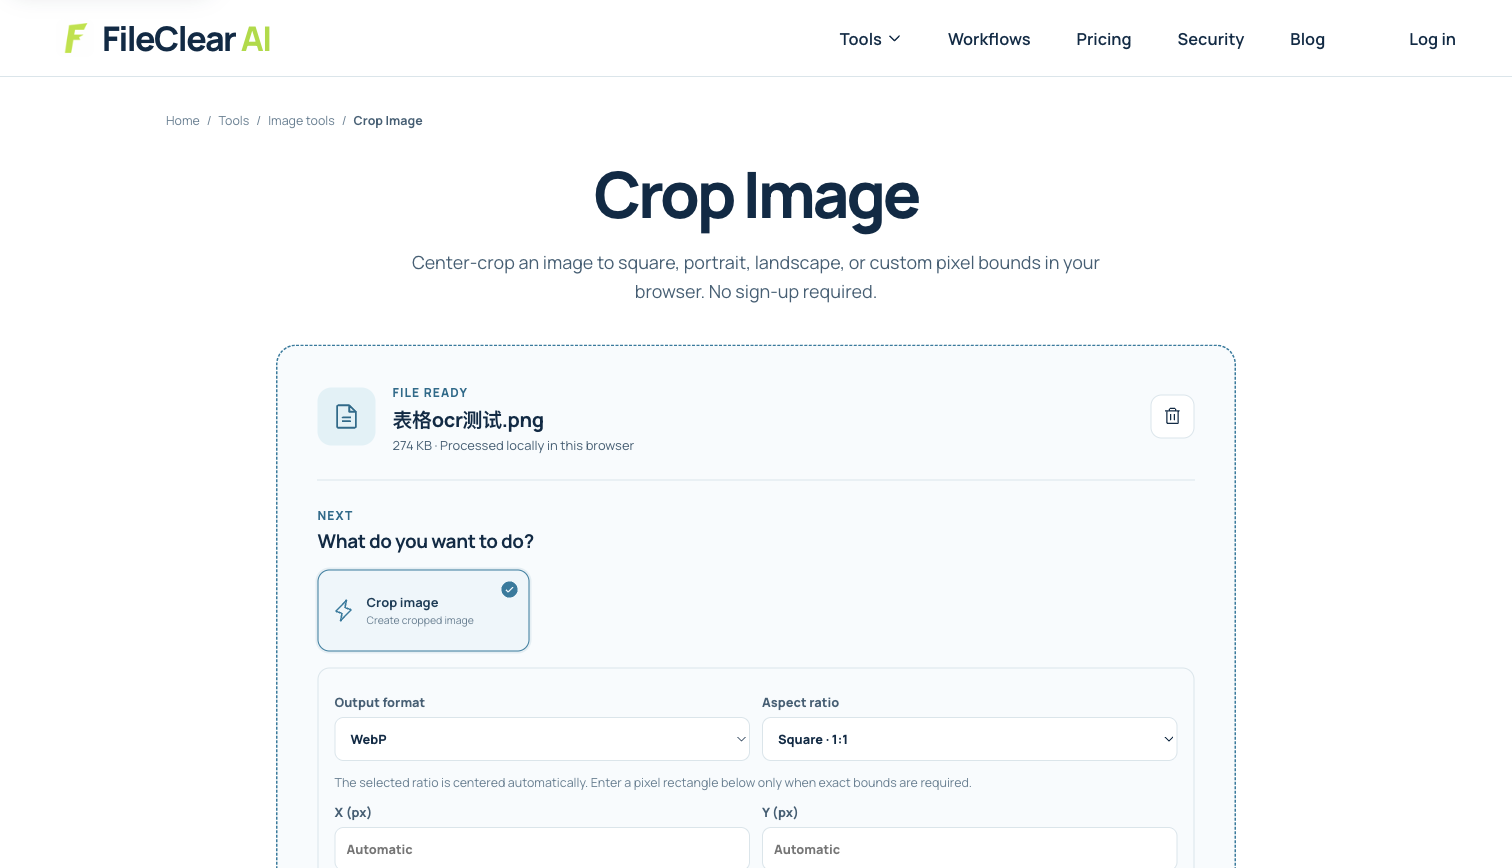
Crop an image to a required aspect ratio, protect important content, use exact pixel bounds, and resize the approved crop without distortion.
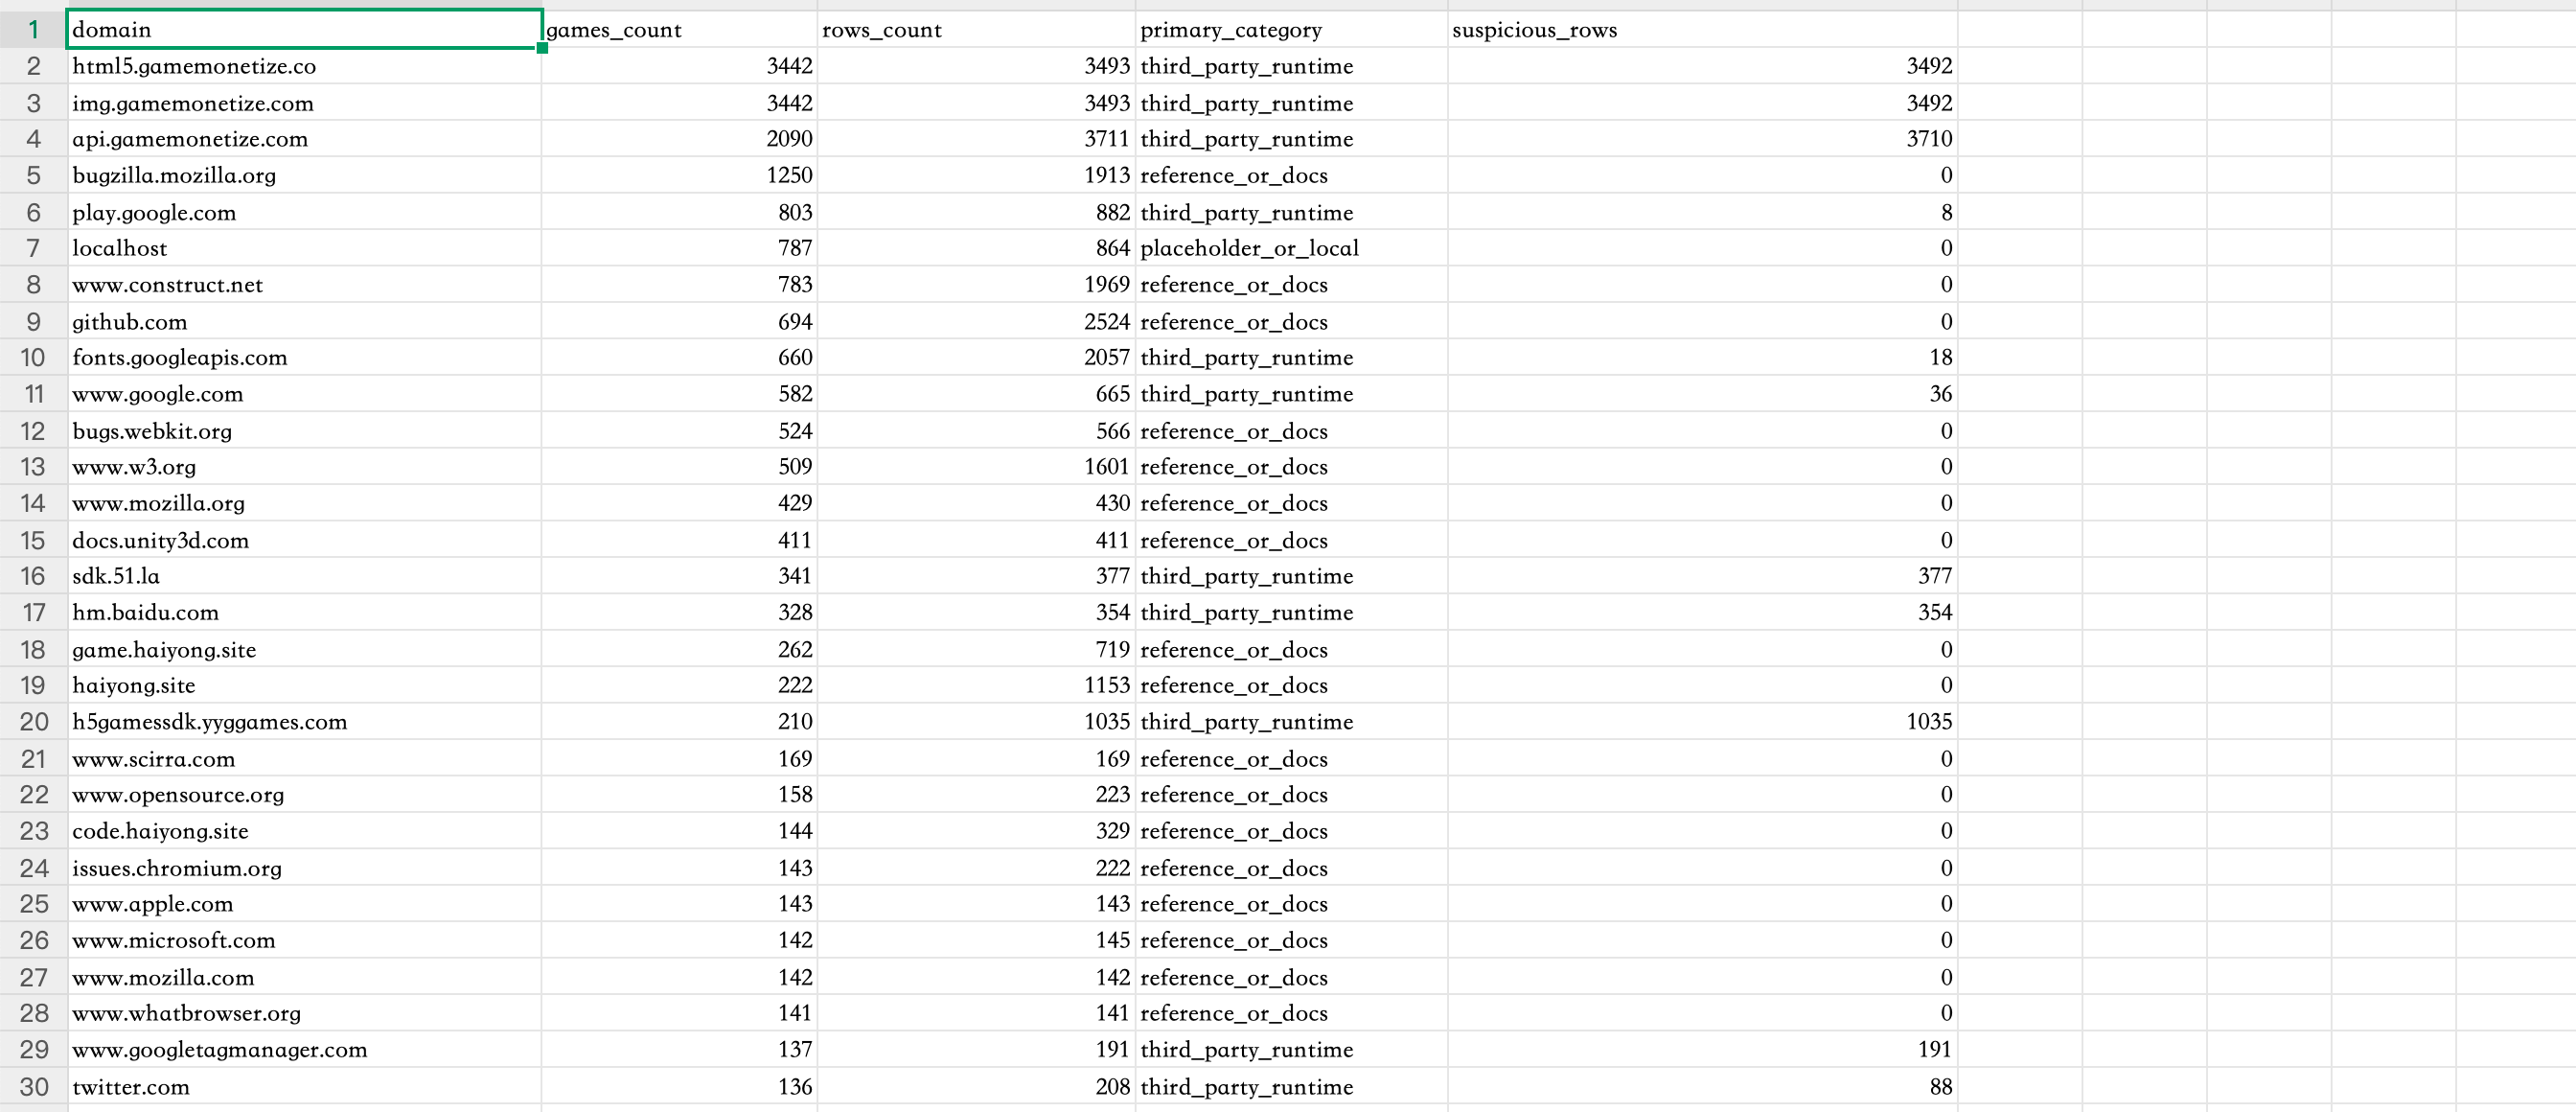
Real-image case: fit a 2688 × 1160 table into a new shape
The source is a wide table screenshot whose edge columns are meaningful. It demonstrates the central tradeoff clearly: a square crop can avoid distortion, but it cannot preserve the full width. The correct crop depends on whether the destination shape or complete table content has priority.
- Source dimensions: 2688 × 1160 pixels.
- Original file size: 280,365 bytes (about 274 KiB).
- Source aspect ratio: 336:145, approximately 2.317:1.
- A maximum in-bounds square at native height is 1160 × 1160 pixels and necessarily excludes horizontal content.
1. Convert the required dimensions into an aspect ratio
Write down the destination width and height in pixels, then reduce them to an aspect ratio. A 1200 × 1200 destination is 1:1, 1600 × 900 is 16:9, and 1200 × 1500 is 4:5. Cropping decides which source pixels survive so that the remaining rectangle has this shape. Resizing decides how many pixels describe that approved rectangle. Keeping those operations separate is the simplest way to avoid distortion.
The real source is 2688 × 1160 pixels, or 336:145. It is much wider than a square. The largest square that fits inside it without inventing pixels is 1160 × 1160. A centered version would remove 1528 horizontal pixels in total, normally 764 from each side, and would cut away meaningful table columns. These figures describe the source geometry, not a generated output. They reveal why an exact shape can conflict with complete content before any tool is used.
2. Choose crop, padding, or a different layout deliberately
Crop when content near the edges is expendable and the destination must be filled edge to edge. Add padding when every source pixel must remain and empty space is acceptable. Redesign the destination when neither lost content nor padding is appropriate. Never force the source into a new width and height independently: that is stretching, not cropping. The fact that an output has the requested pixel dimensions does not make it correct if people, logos, circles, text, or table cells have changed shape.
Mark a safe area around the subject before choosing the crop. For portraits, protect the face, hair, hands, and intended headroom. For products, preserve extremities, labels, and useful shadows. For screenshots and tables, protect headers, identifiers, totals, legends, and row labels. The real case should normally stay wide because every populated column matters. It can still teach square cropping, but the preview should make the rejected columns obvious and lead you to choose padding or a wider destination for production use.
3. Use a ratio preset or enter an exact source rectangle
Open Crop Image and select the required aspect-ratio preset for a centered crop. The tool offers square, landscape, widescreen, portrait, and story shapes, while a free option keeps the current ratio. A centered preset is efficient when the subject sits in the middle and both edges are expendable. Inspect the overlay instead of assuming symmetry is correct; a centered crop can cut off a person or label that is intentionally positioned near one side.
When the exact source area matters, enter X and Y for the top-left corner plus crop width and height in pixels. Keep X at or above zero, Y at or above zero, X plus width within the 2688-pixel source width, and Y plus height within the 1160-pixel source height. Use the source's intrinsic pixel dimensions rather than its displayed CSS size. Record the rectangle if several related images need equivalent framing, and keep the original because a downloaded raster crop does not restore discarded pixels.
4. Preview the crop and check every boundary before download
Review the processed result in the preview workspace before downloading. Follow the crop boundary clockwise and compare it with the original: top, right, bottom, and left. Look for clipped letters, fingertips, product edges, captions, cell borders, watermarks, and shadows. Confirm that the remaining objects have the same proportions as the source. For the table case, verify exactly which headers and values disappeared; if any removed column is required, reject the crop and choose another ratio, rectangle, or padding strategy.
Zoom to 100% and inspect antialiasing along text and thin rules. Cropping alone selects pixels and should not stretch them, but output encoding, rotation, or a later resize can still affect appearance. Check transparency when using PNG or WebP and choose an intentional background before exporting to JPG. Do not use cropping as a security method: pixels outside a newly exported raster crop are absent from that derivative, but other file types and editing workflows may retain recoverable hidden areas or metadata.
5. Resize the approved crop to the final exact pixels
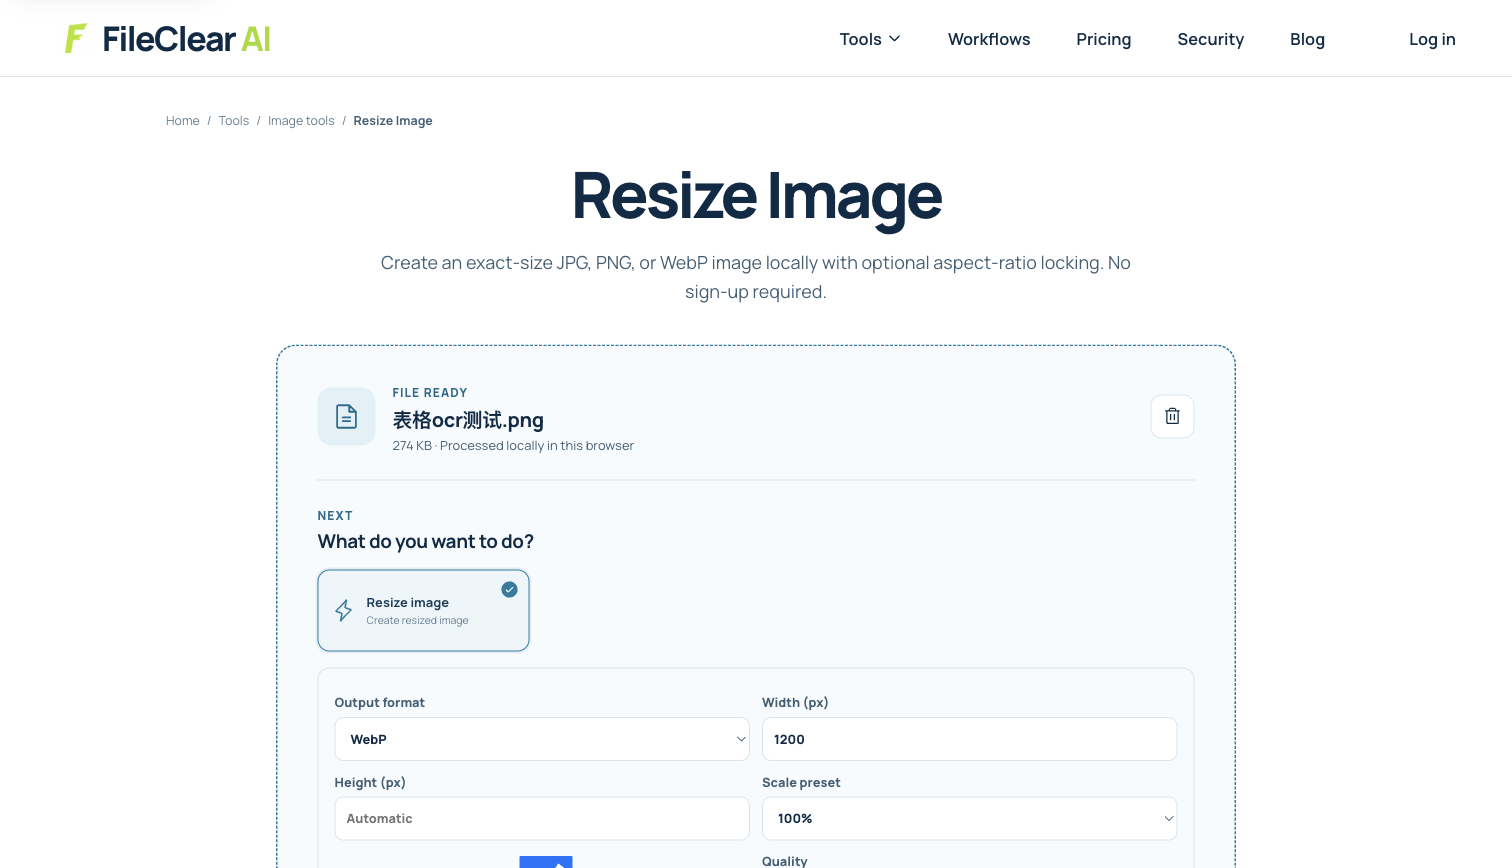
A ratio crop can have the correct shape without having the final pixel dimensions. After approving the crop, open Resize Image and enter the required width while keeping the aspect ratio locked; the calculated height should match the target because the crop already has the right ratio. If it does not, return to the crop instead of unlocking dimensions. Resize once from the approved crop, choose PNG, JPG, or WebP for the destination, and do not claim that enlargement restores source detail.
Preview the resized result again before downloading. Confirm exact width and height, subject placement, edge completeness, orientation, color, transparency, and sharpness at the intended display size. Save the derivative with a useful name such as product-square-1200.png and retain the original plus the uncropped working copy. This two-stage workflow—crop to shape, then resize proportionally to exact pixels—meets a fixed specification without turning circles into ovals or quietly squeezing important content.
Test one final file in the destination layout before processing a whole batch. Responsive containers and automatic thumbnails can crop or scale again, so verify the delivered asset as well as the local download.
Continue this file task
Related guides
Frequently asked questions
- How do I crop an image to exact dimensions without stretching it?
- Crop the source to the same aspect ratio as the required dimensions, approve the framing, and then resize that crop proportionally to the exact width and height with aspect-ratio locking enabled.
- What is the difference between cropping and resizing an image?
- Cropping chooses which source pixels remain and changes the framing or shape. Resizing resamples the retained image to new pixel dimensions. Independent width and height changes can distort the content.
- Should I crop or add padding when the aspect ratio is wrong?
- Crop when edge content can be removed and the destination must be filled. Add padding when every source pixel must remain. Choose based on content priority rather than forcing the image to stretch.
- How do X, Y, width, and height define a pixel crop?
- X and Y locate the crop's top-left corner in the source. Width and height define the rectangle. Keep the entire rectangle inside the source dimensions and inspect all four boundaries before processing.
Sources and further reading
- Crop tool options in Photoshop — Adobe Photoshop Help
- Resizing parameters in Photoshop — Adobe Photoshop Help
- CanvasRenderingContext2D: drawImage() method — MDN Web Docs