Why Does PNG Transparency Turn White or Black When Converted to JPG?
By Leomeo · Published 2026-08-23 · Updated 2026-08-23
JPG has no standard alpha channel. Learn why transparent PNG areas become white or black, how to choose a background, and when to keep PNG instead.
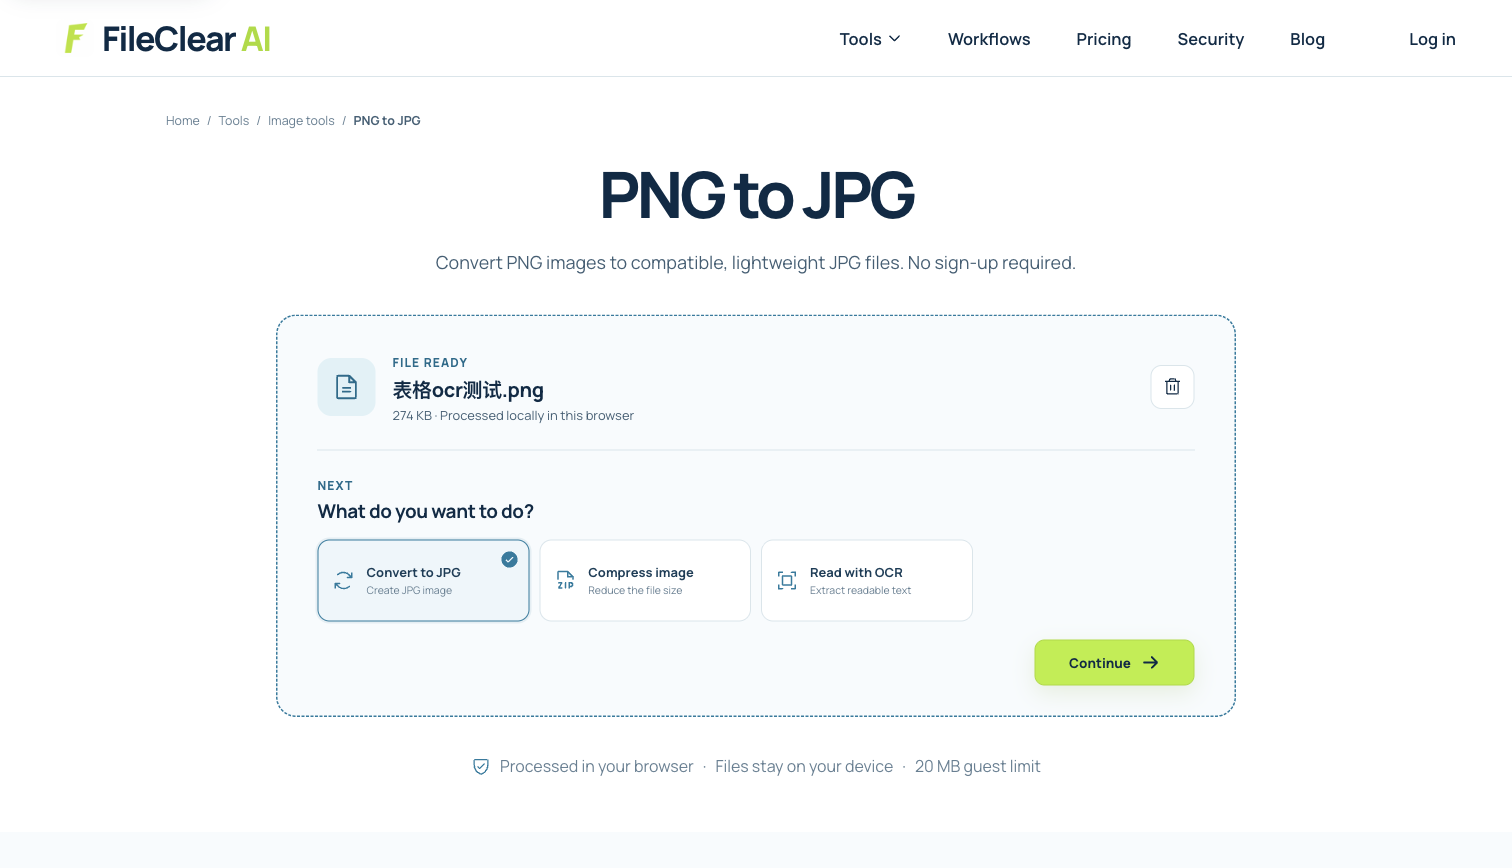
Case image: an actual table screenshot converted from PNG to JPG
We convert a genuine high-resolution table screenshot and compare the source and result. The sample itself is opaque, which makes it useful for isolating format, size, and text-edge changes before applying the same workflow to transparent artwork.
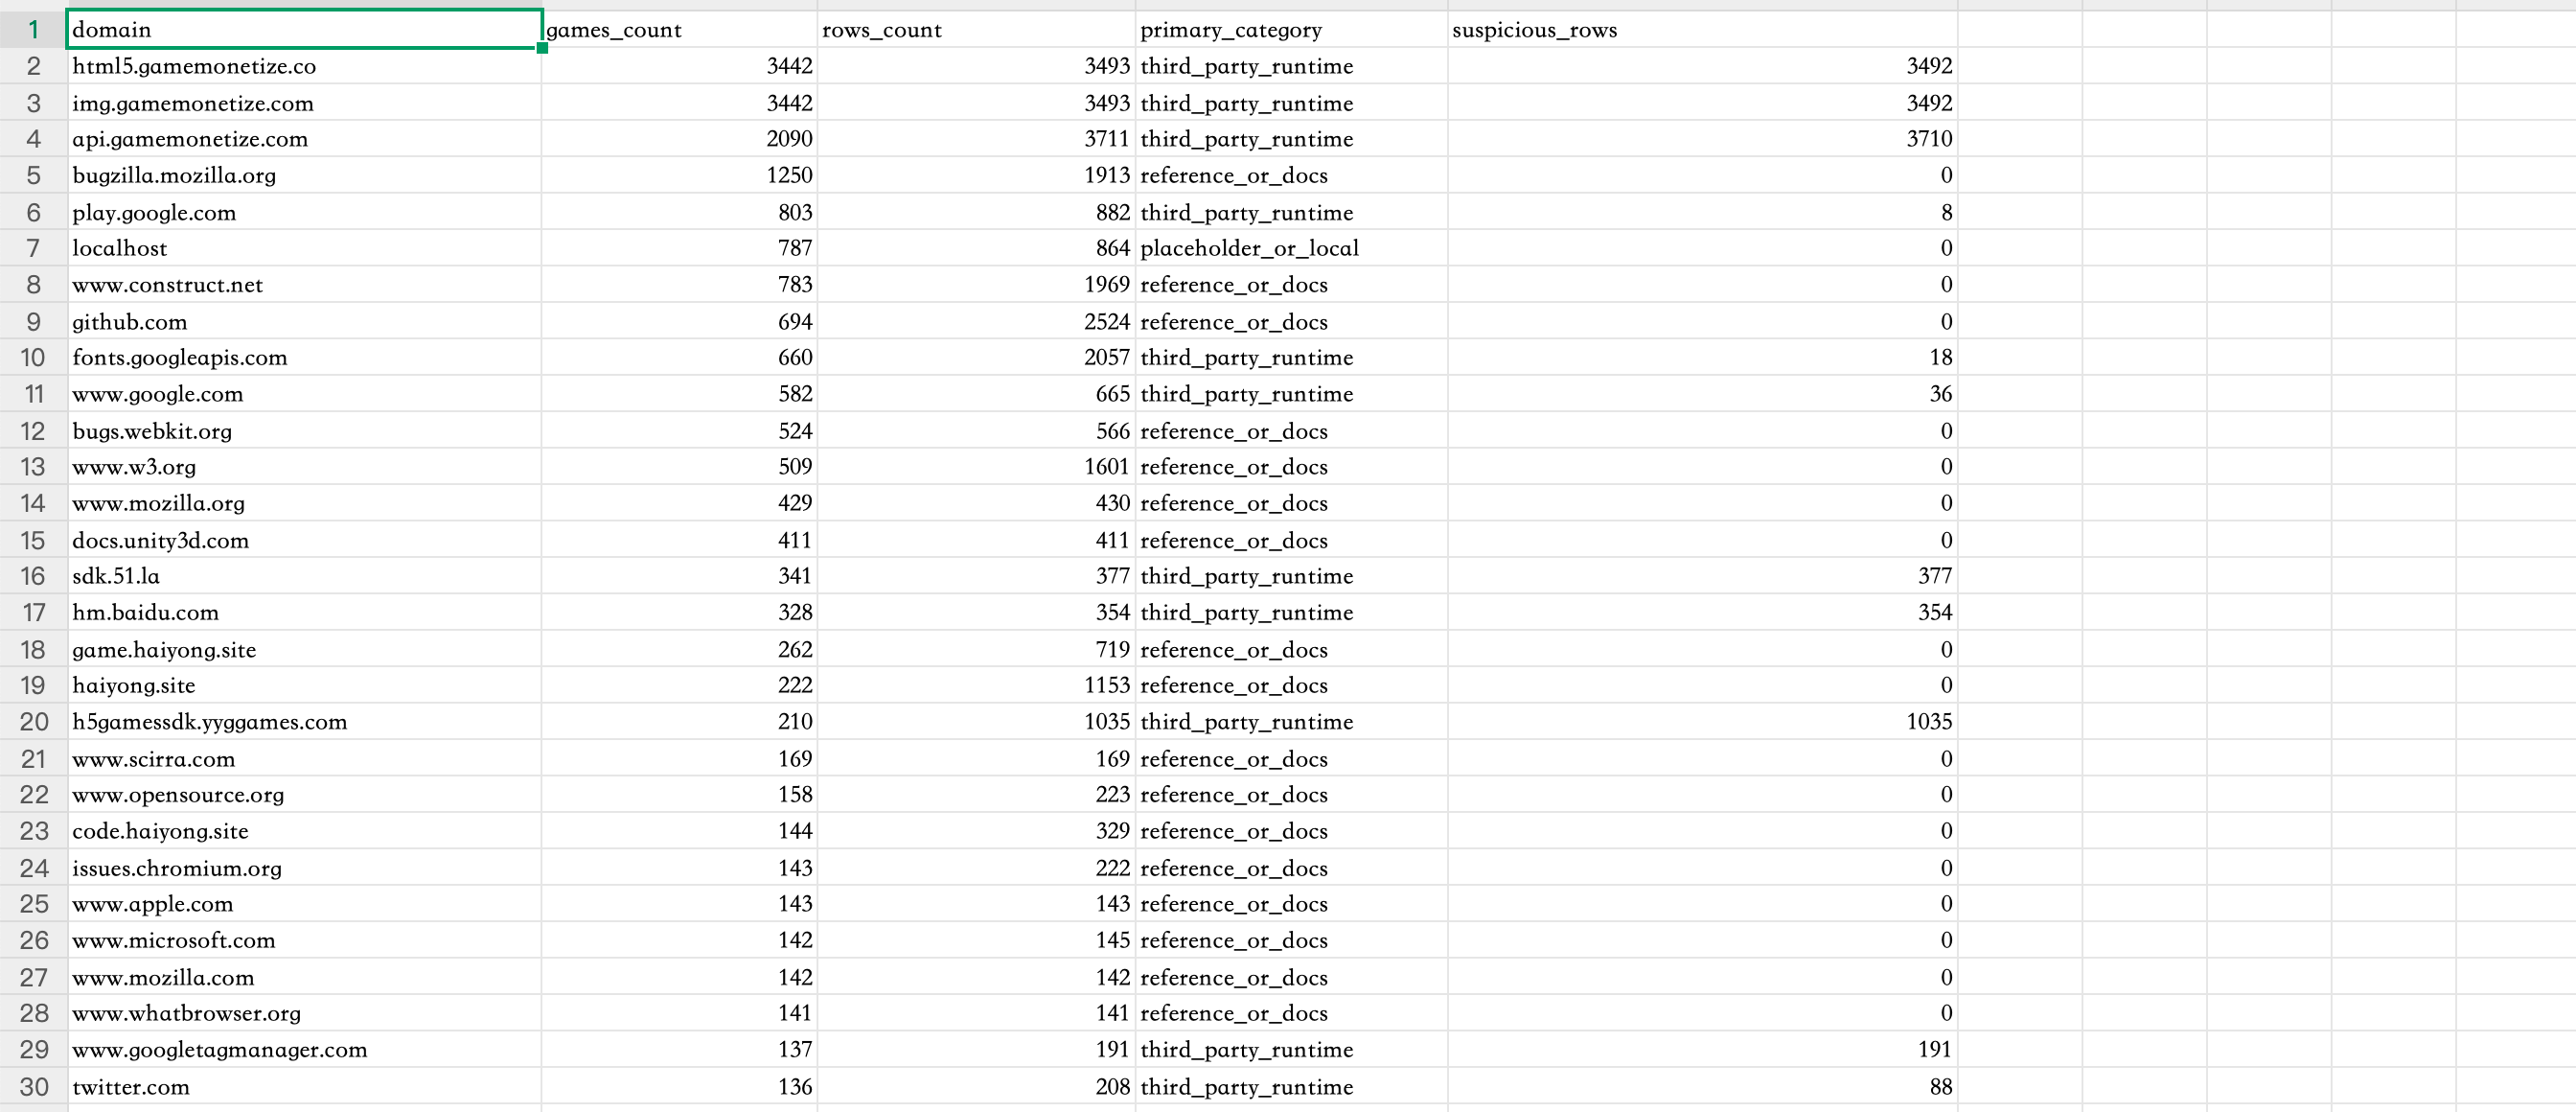
- The source image is 2688 x 1160 pixels.
- The PNG source is 274 KB.
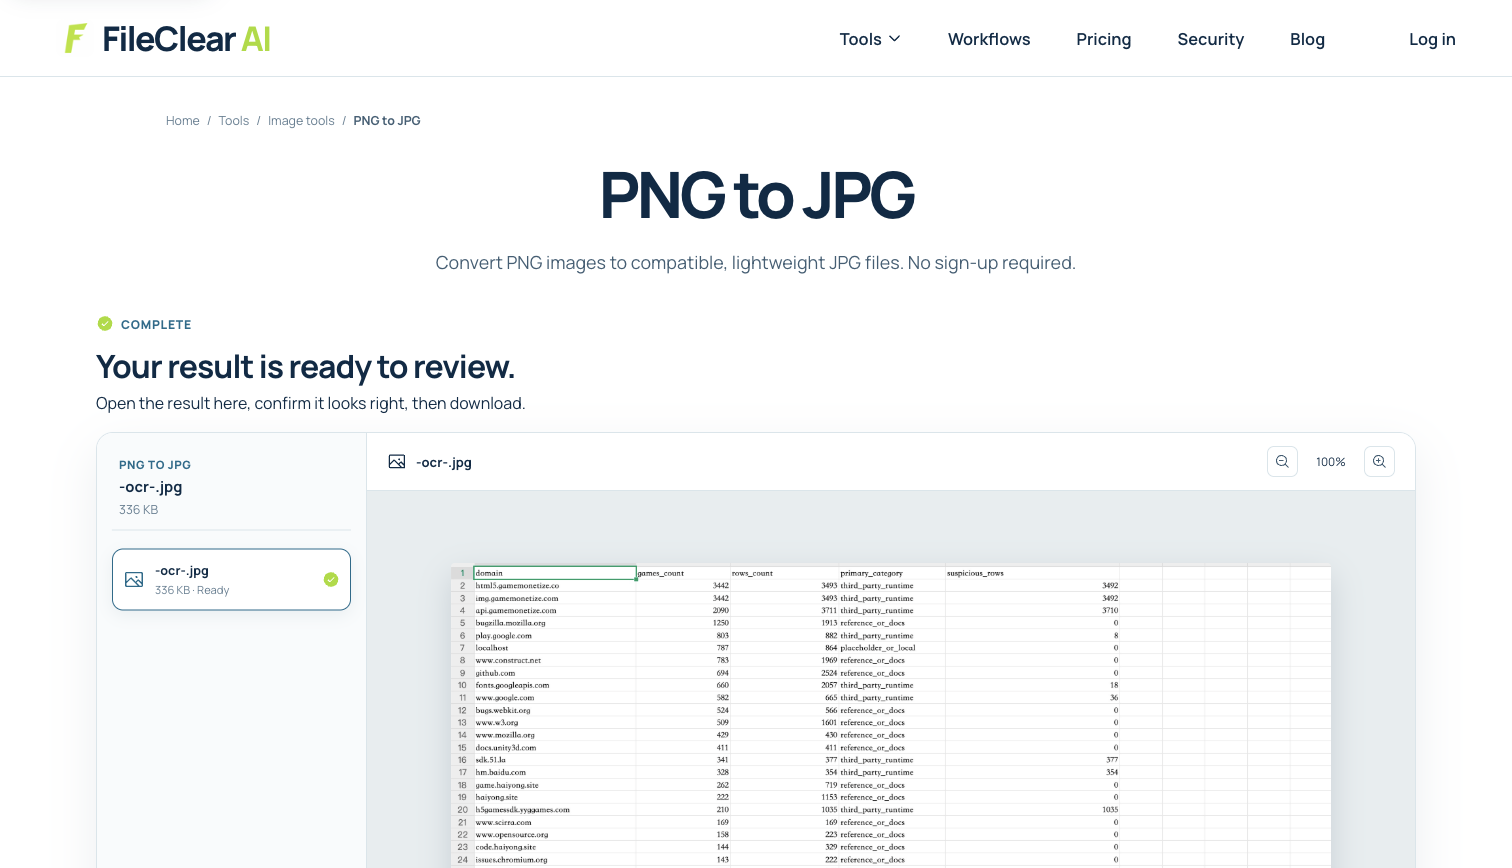
- The JPG result is 336 KB, so this conversion did not reduce file size.
PNG can store alpha transparency; ordinary JPG cannot
A PNG can describe red, green, and blue color plus an alpha value that controls each pixel’s opacity. Zero alpha means fully transparent, the maximum means fully opaque, and intermediate values create soft edges, shadows, antialiasing, and translucent artwork. The W3C PNG specification defines several ways to represent that transparency. An ordinary JPEG/JFIF image stores opaque image samples and does not provide the compatible alpha channel that typical .jpg software expects. The missing transparency therefore cannot be preserved by simply changing the filename or encoder.
Before JPG encoding, every transparent or partly transparent pixel must be composited against a real background color. White appears when the converter deliberately chooses white or its drawing surface starts white. Black appears when the default surface is black, transparent color values are interpreted without the intended background, or premultiplied-alpha data is handled incorrectly. Neither outcome means that JPG invented transparency: it means the converter resolved transparency to opaque pixels using a chosen or default background.
Choose the background before you convert
Choose a background based on the destination, not the editor canvas. White works for documents, marketplace listings, and most printed pages. A brand color can make a logo or product cutout look intentional on a fixed design. Dark backgrounds require checking pale edges and shadows that were authored for a light page. Composite the PNG once against that exact color at full dimensions, then encode the opaque result as JPG. If the image must work on several website themes, retain PNG or WebP transparency instead of creating one JPG that fits only one surface.
Watch for white or dark halos around antialiased edges. Edge pixels are partly transparent and already contain color information intended to blend with a background. Flattening them onto one color and later placing the JPG on another can expose a fringe. Use the final destination color during compositing and avoid repeated conversions. A converter should make the background explicit; when it does not, assume the result is environment-dependent and inspect it before publishing.
The real table case shows that JPG is not always smaller
Our real case image is a 2688 x 1160 table screenshot. The 274 KB PNG is uploaded to the PNG to JPG workflow, processed, previewed, and downloaded. The resulting JPG is 336 KB — 62 KB larger than the source. That is a valid result, not a failed measurement. PNG’s lossless compression is often efficient for screenshots with broad flat areas, repeated colors, lines, and crisp text, while JPEG is optimized for continuous-tone photographs and can spend more bytes trying to approximate sharp high-contrast edges at a readable quality.
The case source is opaque, so its white table background remains white; it does not demonstrate an alpha layer that never existed. It does demonstrate the exact conversion and review process without pretending every PNG is transparent. When applying the same steps to a transparent logo or cutout, first select the background that will replace alpha. Compare dimensions and actual downloaded bytes rather than assuming the .jpg extension means a smaller file. If the goal is only file-size reduction, optimize the PNG first and keep the format when it produces the smaller, sharper result.
Review color, text edges, and output size
Preview the downloaded JPG at 100 percent and on the same background where it will be used. Check text, thin rules, logos, hair, shadows, and curved antialiased edges. Zooming far beyond 100 percent can reveal normal JPEG blocks that are irrelevant at final size, but small type and QR codes need close attention because artifacts can harm reading or scanning. Compare color around formerly transparent pixels, confirm that dimensions remain 2688 x 1160 when that is required, and check whether orientation metadata is interpreted consistently.
Keep the original PNG. JPEG compression is lossy, and converting the JPG back to PNG only stores the already-flattened, already-compressed pixels in a lossless container; it cannot restore alpha or recover discarded detail. Choose PNG or transparent WebP for logos, interface assets, diagrams, and cutouts that need transparency or crisp edges. Choose JPG for opaque photographs when compatibility and efficient photo compression matter. A correct conversion makes the background decision explicit, preserves the intended dimensions, and proves quality and size using the downloaded result.
Keep a transparent master and name every flattened export
Treat the original PNG as the editable master and each JPG as a destination-specific export. Put the chosen background color, pixel dimensions, and intended channel in the filename or asset record, for example logo-white-1200.jpg or product-card-navy.jpg. This avoids a common production mistake in which an opaque JPG is reused on a different background and its edge halo is blamed on the website. It also prevents repeated JPG-to-JPG saves that compound compression artifacts around type, logos, and fine outlines.
Before publishing a batch, place representative exports on the real light and dark surfaces used by the product, email, marketplace, or document. Confirm that no transparency-dependent shadow, cutout, or antialiased edge disappears, and compare the delivered asset rather than only the local download because platforms may recompress it. If more than one background is required, generate separate exports from the PNG master or keep a transparent format. A clear master-and-derivative workflow preserves future options without pretending that flattened alpha can be reconstructed later.
Continue this file task
Related guides
Frequently asked questions
- Why did my transparent PNG get a black background in JPG?
- Ordinary JPG cannot keep the PNG alpha channel, so transparent pixels had to be composited. The converter or graphics surface used black, or it mishandled transparent color data without an explicit background.
- Can a JPG have a transparent background?
- Not in the ordinary JPEG/JFIF workflow used by browsers, editors, and websites. Use PNG or transparent WebP when alpha transparency must remain compatible.
- Why is my JPG larger than the PNG source?
- Screenshots, diagrams, flat colors, and text can compress very efficiently as PNG. In the real case, the 274 KB PNG became a 336 KB JPG, so conversion was larger even though JPEG is often efficient for photographs.
- Can converting the JPG back to PNG restore transparency?
- No. Once alpha was composited onto opaque pixels, changing the container cannot know which pixels were originally transparent. You need the original PNG or a new background-removal process.
Sources and further reading
- Portable Network Graphics (PNG) Specification, Third Edition — World Wide Web Consortium
- Image file type and format guide — MDN Web Docs
- JPEG File Interchange Format — Library of Congress